Using the Leave Calendar
The Leave Calendar provides the HR team with a dynamic calendar of employee leave requests. It is a single place to easily see your employee's planned leave. The report is comprised of two sections, the Slicers, and Calendar Sections.
If you want to customise the calendar to show other important dates, this is possible with Rapid's flexibility. Contact Rapid to find out more details.
Accessing the HR Calendar
- On the Explorer sidebar click Human Resources > HR Reporting
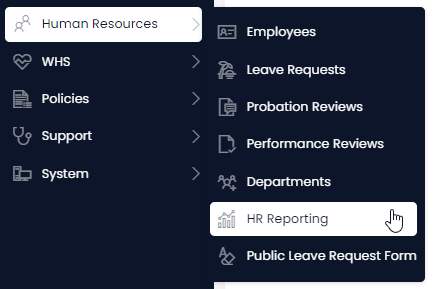
- Click on the Leave Calendar tab

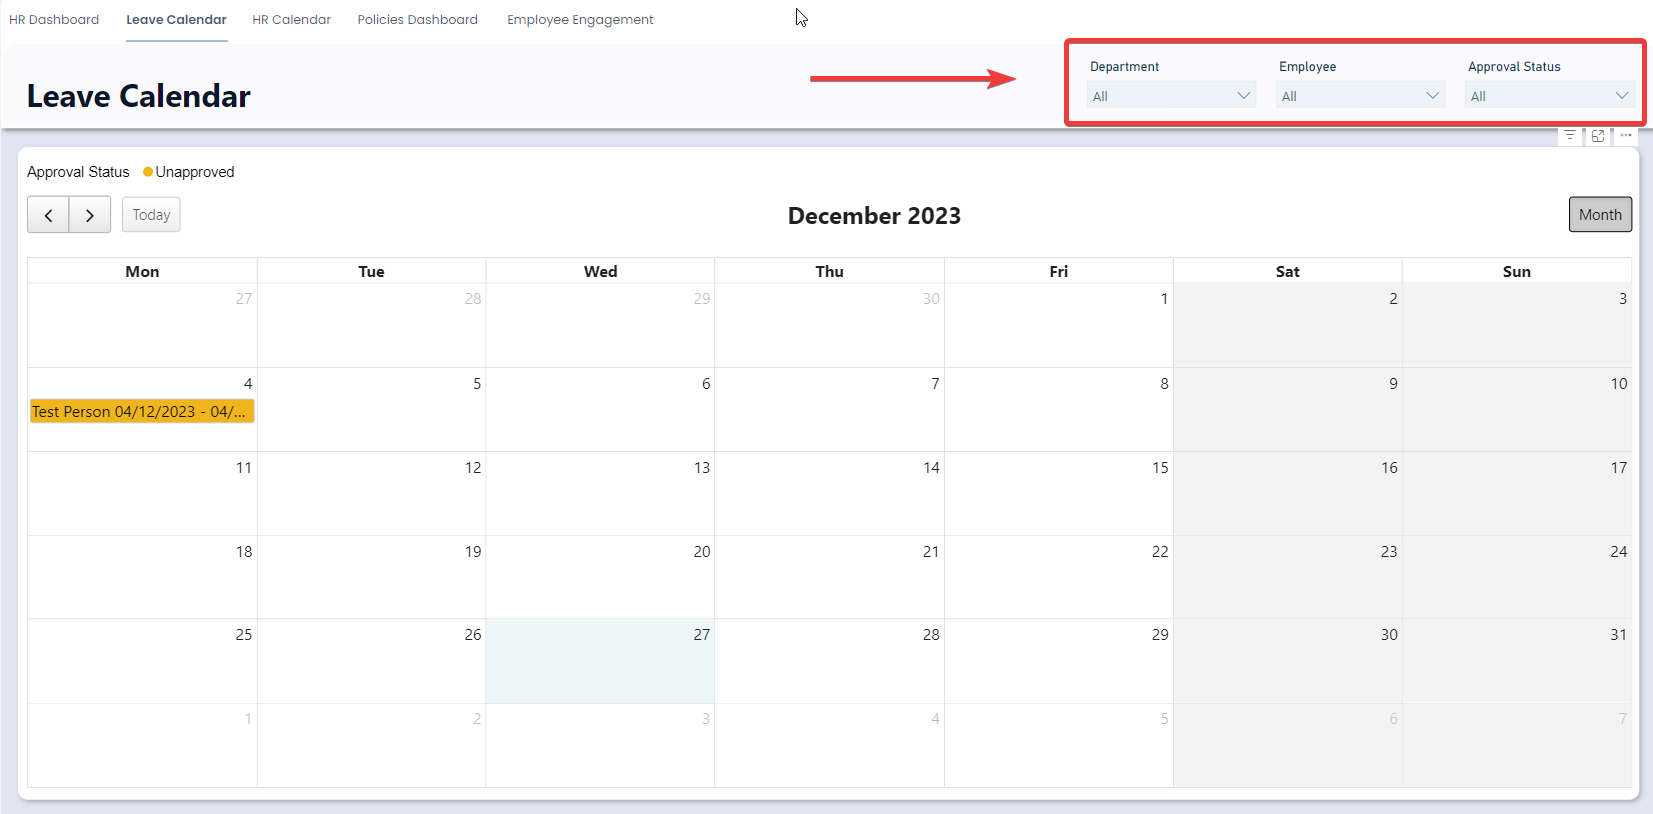
Slicers
Slicers provides the user with the ability to filter the calendar by: Departments, Employee, or Approval Status. This means that if you only want to see approved leave requests for the “Sales Department” you can set the Department slicer to “Sales” and the Approval Status slicer to “Approved”.
 !
!
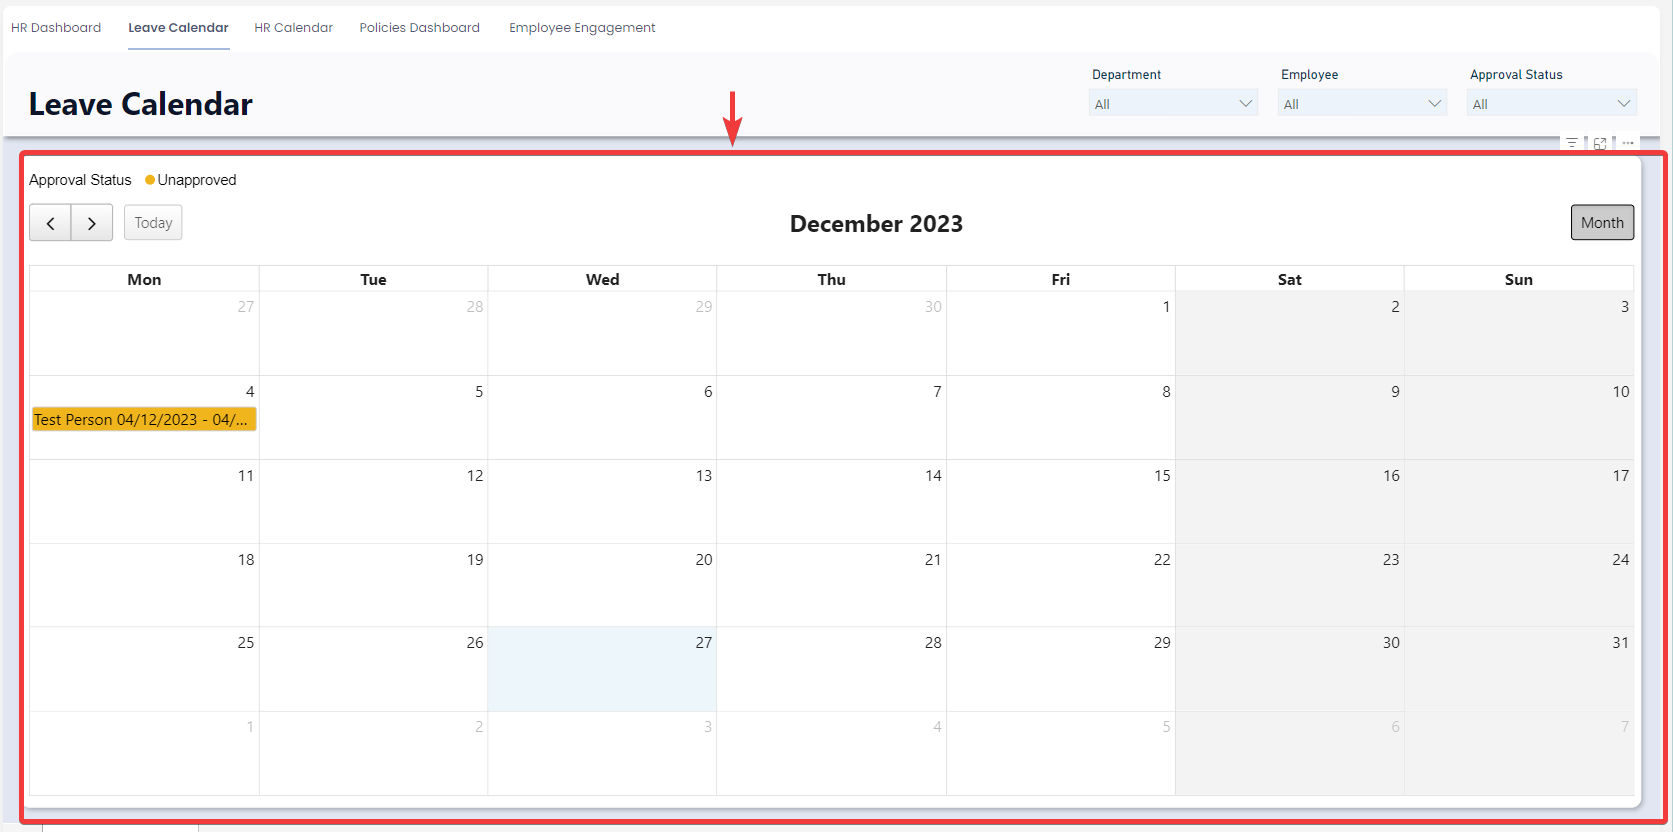
Calendar
The calendar section comprises of simple calendar showing the current month. To move to a future month, click on the right arrow. To move to a previous month, click on the left arrow. To navigate to the current calendar month simply click on the “Today” button in the top left of the calendar.